Updated on November 8, 2026 · By the Smart Picks UAE team
Smart Picks UAE is reader-supported. As an Amazon Associate we earn from qualifying purchases, at no extra cost to you. Read our affiliate disclosure.
Quick answer — how to do a pull up
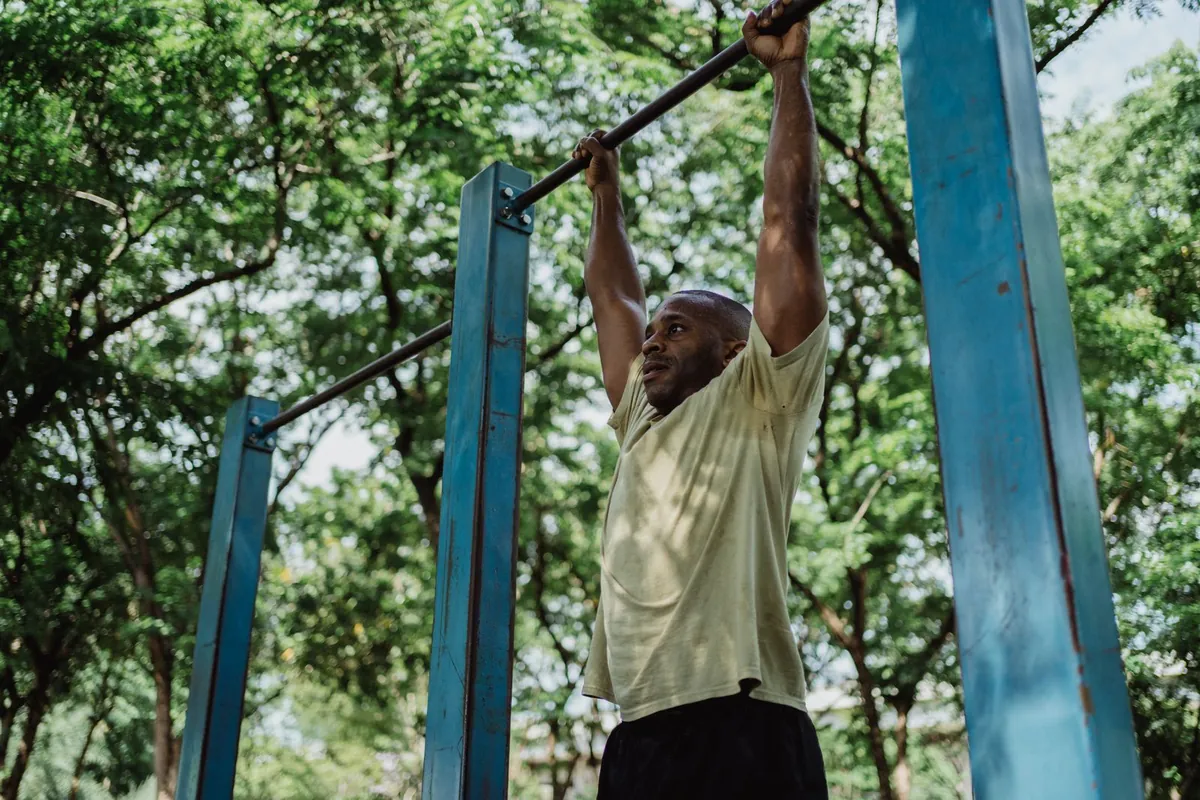
- Take a pronated (overhand) grip, hands slightly wider than your shoulders.
- Hang with arms straight and shoulders packed down, not shrugged up by your ears.
- Brace your core so your ribs stay down and your body stays fairly still.
- Drive your elbows down and back, as if toward your back pockets.
- Keep pulling until your chin clearly clears the bar.
- Lower yourself under control until your arms are straight again.
- Stop the set if your form breaks or you feel sharp shoulder or elbow pain.
A strict pull-up looks simple: you hang from a bar and lift your chin above it. In practice it is a skill. If you cannot do one yet, you are in good company. This guide explains how to do a pull up with clean form, then lays out a path from a dead hang to your first full repetition.
It is for beginners who cannot complete a single strict rep yet, and for people who want tidier technique. If you still need hardware, our companion buying guide to the best pull-up bar for home covers doorway and apartment-friendly options.
This article is general fitness information, not medical advice. If you have shoulder, elbow or neck pain, a recent injury, or another medical condition, speak with a qualified clinician before you start hanging or pulling work.
How to Do a Pull-Up: Step-by-Step Form
Here is how to do a pull up with strict form. Cues from the NASM exercise library and the BarBend beginner pull-up guide agree on the basics: a secure overhand grip, packed shoulders, elbows driving down, the chin clearing the bar, and a controlled descent. Use these steps even while you still need a band or a slow negative.
1. Set your grip
Stand on a stable step if you cannot reach the bar comfortably. Take a pronated grip — palms facing away — with your hands slightly wider than shoulder-width. NASM notes that this width is a solid default for back engagement. Wrap your thumb around the bar, then step off so your arms are fully extended and your body can hang freely.
2. Pack your shoulders and brace
Set your shoulder blades down your back and gently together before you pull. Your neck should not disappear into a shrug. Brace your midsection as you would for a plank so your lower back does not arch and your legs do not swing. BarBend describes this as creating a firm foundation before the elbows bend.
3. Drive the elbows and clear the bar
Start the pull by moving the shoulder blades, then drive your elbows down and back — toward your back pockets or “through the floor,” as BarBend puts it. Keep going until your chin clearly clears the bar. Do not crane your neck to fake the last centimetre.
4. Lower under control
Pause briefly at the top, then lower yourself until your arms are straight again. Keep tension through your back. A jerky drop wastes the strongest part of the repetition and makes the next attempt sloppy. That same slow lowering is what you will later train on purpose as a negative.
Muscles a Pull-Up Works
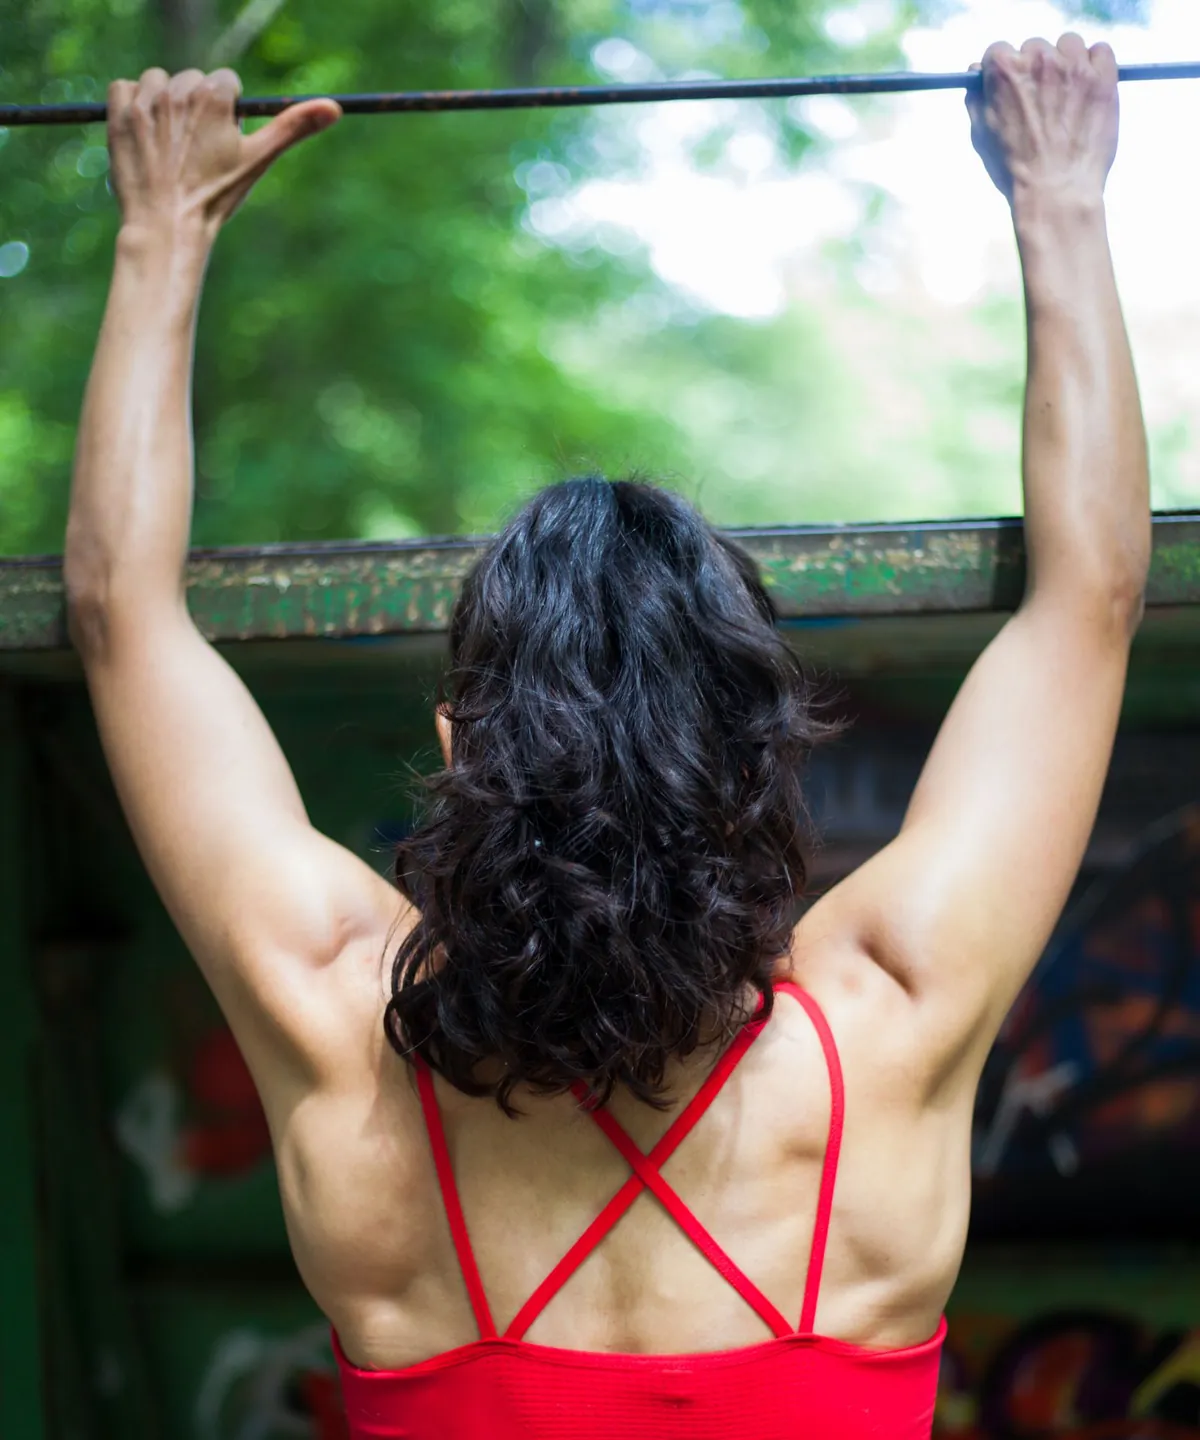
A pull-up is a multi-joint vertical pull. NASM lists the latissimus dorsi as a primary mover, with the rhomboids helping the shoulder blades move. The biceps, middle trapezius, rear shoulders and core all assist, and your grip works throughout — which is why hangs matter for beginners. If you “only feel your arms,” you are usually missing that first scapular action.
How to Do Pull-Ups for Beginners
If you cannot complete a full repetition yet, skip jumping into a quarter-rep. How to do pull ups for beginners is about building the pieces: grip, scapular control, the lowering phase, then the full pattern with help. Trainers writing for Health.com suggest short dead hangs, scapular pull-ups with straight arms, a three-to-five-second lowering phase, and a thick band or assisted machine so you can rehearse the whole movement.
NASM makes the same point: use band assistance, an assisted machine or inverted rows, then reduce the help as you get stronger. Accessory rows help the same muscles in an easier position. Inverted rows, band rows and beginner dumbbell exercises such as a supported row let you train the mid-back without lifting your full body weight. If you already own adjustable dumbbells, a few controlled rowing sets after hanging work is enough.
Pull Up Progression: From Zero to Your First Rep
A clear pull up progression keeps you from guessing. The sequence below is a practical starting point, not a guaranteed calendar. Health.com’s trainers describe dead hangs of about 10 to 20 seconds, scapular pull-ups that teach the start of the lift, and a three-to-five-second lowering phase. BarBend builds toward a first rep with rows, eccentrics and band-assisted work, and notes there is no need to chase a fictitious timeline. Repeat a stage if your reps get sloppy.
| Stage | What to practise | Starting volume | Advance when |
|---|---|---|---|
| Dead hang | Overhand grip, arms straight, shoulders packed down | 3–5 holds of 10–20 seconds | About 20–30 seconds with a quiet body |
| Scapular pull-ups | Pull the shoulder blades down and back; keep elbows straight | 3 sets of 5–8 slow reps | The movement clearly starts in your back |
| Slow negatives | Start chin-over-bar and lower for 3–5 seconds | 3–5 sets of 3–5 reps | You can lower smoothly for at least three seconds |
| Band-assisted | Band over the bar, foot or knee in the loop, full-range strict reps | 3 sets of 5–8 reps | Same clean sets with a lighter band |
| First strict rep | Dead hang to chin clearly over the bar, then lower under control | A few quality tries, then sets of 1–3 | One clean rep from a still hang |
For assisted reps, loop a band over the bar and place one foot or knee in it so the band takes some of your weight. Health.com quotes trainer guidance to wrap the band around the arch of the foot and the top of the bar, then use a step to reach the bar safely. Choose a band that lets you finish clean reps without kipping. A home set such as TheFitLife resistance bands is useful for rows and for scaling pulling work; see our resistance bands guide if you want help matching a set. Move to a lighter band as you get stronger.
A Sample Weekly Pull-Up Plan
Three sessions a week, with a rest day between them, is plenty for most beginners. BarBend’s beginner programme uses a similar two-to-three-day frequency. Treat this as a template, not a promised date for your first rep.
- Session 1: Dead hangs, scapular pull-ups, then negatives or band-assisted pull-ups. Finish with easy rows and a short plank.
- Rest day: Walk or light training that does not fry your grip.
- Session 2: Repeat the hanging work. If negatives were a grind, do fewer reps or add a little band help.
- Rest day: Stay off hard vertical pulling.
- Session 3: Another pull-up session. Make it slightly harder only if the last two sessions looked clean.
Stop a set while your shoulders are still packed. Mild muscle soreness is common; sharp joint pain is a signal to regress, not to push through.
How to Do Pull-Ups at Home
Learning how to do pull ups at home is mostly a setup-and-safety problem. A doorway pressure bar such as the Sportneer doorway pull-up bar needs a measured, solid frame (that model fits openings of about 75–94 cm) and a fully engaged lock. A no-screw leverage option such as the Yoawllty doorway bar hangs on sturdy trim when drilling is not allowed. Measure twice, follow the manual, and test the bar gently with your feet still on the floor before you hang. Re-check the lock before every session.
Keep reps strict. Many doorway bars are not designed for kipping unless the manufacturer says otherwise. Clear the landing zone, step down softly, and consider interlocking mats such as PROIRON foam tiles if you want a quieter place to land at home, including in apartments. For compact setup ideas, see our home gym equipment for apartments guide.
No bar yet? Do not improvise with a towel jammed in a door or a shower rail. A safer stand-in is an inverted row under a sturdy table: lie underneath, grab the edge, keep your body straight, and pull your chest up only if the furniture cannot tip. If it flexes, skip it.
How to Get Your First Pull-Up
People search for how to get your first pull up because that first clean repetition is a real milestone. The honest timeline is weeks to months, not a guaranteed week or a promised 30-day transformation. Training history, body weight and consistency all change the clock. BarBend treats the first pull-up as a skill you build with a plan, and Health.com’s trainers note there is no single “you are ready” test. Useful signs include holding the top position, starting with your shoulder blades, and lowering slowly under control.
When those pieces are in place, try two or three unassisted attempts at the start of a fresh session. If the rep does not happen yet, finish with assisted or negative work and try again later in the week. After the first strict rep appears, add repetitions only when every rep still starts from a still hang and finishes with the chin clearly over the bar.
Common Pull-Up Mistakes
NASM flags several form issues that show up again and again:
- Kipping or swinging. Extra momentum can raise your chin, but it reduces back work and is a poor match for most doorway bars.
- Half reps. Stopping halfway, or never returning to straight arms, leaves the hardest part untrained.
- Shrugged, unpacked shoulders. If your ears sit next to your shoulders, the blades are not set.
- Pulling only with the arms. Think “shoulders down, then elbows down.”
- Flaring ribs and a floppy core. An arched, swinging torso makes the shoulders less stable.
- Bouncing out of the bottom. A band bounce teaches you to skip the weakest range.
- Skipping scapular work. If you cannot move your shoulder blades on a hang, the full pull-up will keep feeling like an arm scrape.
Chin-Up vs Pull-Up
The main difference is hand position. A pull-up uses a pronated (overhand) grip, palms facing away. A chin-up uses a supinated (underhand) grip, palms facing you. BarBend’s memory cue: you would scratch your chin with your palm toward your face — that is a chin-up. Many beginners find chin-ups a little easier because the underhand grip lets the biceps help more. If your goal is a pull-up, keep most practice on the overhand grip. Neutral-grip pulls, when your bar allows them, are another shoulder-friendly option.
Helpful gear for practising at home
This is a form guide, not a ranking. Prices change often — check Amazon.ae for the current price before you buy.
- Sportneer doorway pull-up bar — A pressure-mount bar for measured 75–94 cm openings, with levels and a lock.
Check price on Amazon.ae → - Yoawllty leverage doorway bar — A no-screw option that sits on sturdy trim when you cannot drill.
Check price on Amazon.ae → - TheFitLife resistance bands — Handy for rows and for scaling assisted pulling work.
Check price on Amazon.ae → - PROIRON interlocking exercise mats — A softer, quieter landing zone under the bar.
Check price on Amazon.ae →
Frequently Asked Questions
How do I do a pull up if I’m a beginner?
Start with dead hangs and scapular pull-ups, then add slow negatives and band-assisted reps. Two or three short sessions a week, with a rest day between them, is a practical way to learn how to do pull ups for beginners.
How do I do pull ups at home?
Use a securely mounted bar, measure the opening, lock it, and re-check it before every set. Keep reps controlled; skip kipping unless the manufacturer allows it. With no bar, inverted rows under a truly sturdy table can help — only if it cannot tip. Avoid towel-over-door hacks.
What is a good pull up progression?
A simple pull up progression is dead hang, scapular pull-ups, slow negatives, band-assisted pull-ups, then your first strict rep. Advance when the current stage looks smooth and repeatable, and pair hanging work with rows.
How long does it take to get your first pull up?
It varies. Some people get there in a few weeks; many need a few months. Body weight, training history and consistency all matter. Treat how to get your first pull up as a skill goal, not a seven-day or 30-day promise.
Are resistance bands good for assisted pull-ups?
Yes. Loop a long band over the bar and place one foot or knee in it so the band takes some of your weight. Use enough assistance for clean reps, then move to a lighter band. Avoid bouncing out of the bottom.
Are doorway pull-up bars safe?
They can be when the frame is solid, the bar fits the listed width, the lock is fully engaged, and you re-check it before every set. Use slow, strict reps. Do not hang from a damaged, hollow or glass frame. Renting? See will a pull-up bar damage my door frame before you fit one.
Bottom Line: How to Do a Pull-Up
Learning how to do a pull up is less about a heroic single attempt and more about repeating a clean pattern. Set a slightly wider-than-shoulder overhand grip, pack your shoulders, drive your elbows down and back, clear the bar with your chin, and lower under control. If you cannot do a full repetition yet, use a simple pull up progression — dead hang, scapular pull-ups, slow negatives, band-assisted reps — and practise how to do pull ups at home on a bar you have measured and locked. Your first pull-up may take weeks or months. Stay consistent for two or three sessions a week and keep the reps honest.
Sources
- NASM Exercise Library: Pull-Up (setup, execution, muscles worked and common mistakes)
- Health.com: How to Get Your First Pull-Up, According to Personal Trainers
- Boly, J. The Ultimate Beginner Pull-Up Guide. BarBend (updated 2026)